How to contribute
This section is currently work in progress
This is a basic tutorial on how to contribute to the website if you've never used github, git or written any code for a website before.
It is advised to use a context manager and an IDE (integrated development environment) to avoid many problems that arise when setting things up. I would recommend using Anaconda which installs the conda context manager. Conda comes bundles with several IDEs, but for this tutorial we will use Visual Studio Code (VSCode). Use the link to install Anaconda, VSCode can be installed once we set up an environment.
Set up conda environment
Advantage of using conda environments is the ability to have multiple versions of python and its packages (it's also easier to remedy mistakes if you break your python).
TO DO: Rewrite this so anaconda prompt is used for installation of venv and vscode.
-
Create a new conda environment
conda create -n CAPLEX python
This creates a new environment called 'CAPLEX' with the latest version of python supported by your conda version. Once python has been configured you will be asked whether to proceed so just press enter. Wait for python to download and install.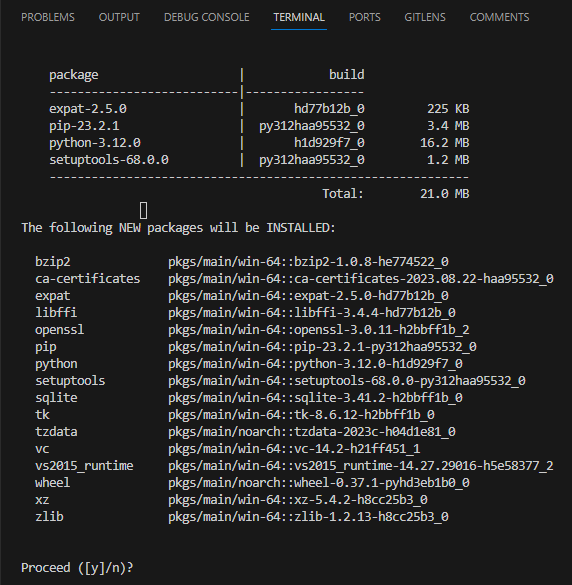
-
Activate your new environment
runconda activate CAPLEX
(base) should change into (CAPLEX) in the terminal. - Install mkdocs-material
This is available either through pip or conda-forge. Whatever you choose to use for installation do not switch between them within one environment. This may cause issues where your packages cannot find each other due to being on different channels. So that you may install other packages with pip, this tutorial will usepip install mkdocs-material
Verify the installation by runningconda list, you should see an alphabetically ordered list of packages including mkdocs-material.
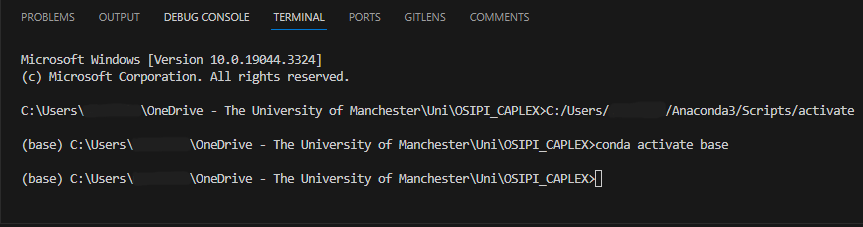
Connect base conda env to VSCode
When using conda make sure to ctrl+shift+P -> Python: Select Interpreter and choose
whichever environment has the webdev packages installed. Then open a new terminal (1)
and if successful, it should begin with (base)
- On the right side of your terminal window you should see

click on the+to open a new terminal.
I cannot see the terminal in VSCode, what do I do?
If you cannot see the terminal at the bottom of your VSCode window, either press Ctrl+Shift+' or in the upper left side of VSCode window find Terminal and click New Terminal.
What if I messed up and this env doesn't work?
In this case you can simply delete the environment and remake it. Just don't delete (base) and don't change (base) unless you know what you're doing.
Firstly deactivate the environment using conda deactivate so you're back to (base). Then run conda remove -n ENV_NAME --all replace ENV_NAME by CAPLEX or other name you chose.
Work on a local version of the website
Build a local version of the site so you can see changes take place immediately. Use the cd command to guide your terminal into the folder containing the mkdocs.yml file. You can see the current path right next to (CAPLEX) in your terminal (1). Once you're done, run mkdocs serve which will build a local version of the website. At the bottom on your terminal the final line will contain the address 127.0.0.1:8000. Hold CTRL and click on it to open in your default browser (best to move it to second monitor with VSCode open on your primary monitor).
- When you write
cd ./you can press tab to scroll through paths found in a particular folder, saving you typing long folder names.

Working on a mac
In case you are using mac to contribute, make sure to navigate to the lower right side of your VSCode window and switch LF to CRLF and make sure to do this on all files you open.
Where to find documentation
This website is built using mkdocs-material.
Equations are rendered using MathJax version2.7.7.
Resources for the lexicon are stored in a Google Drive; ask Ben Dickie for access.